Possession

Large Sided Game: 11 vs. 11 – Reachability, Creating Pressure

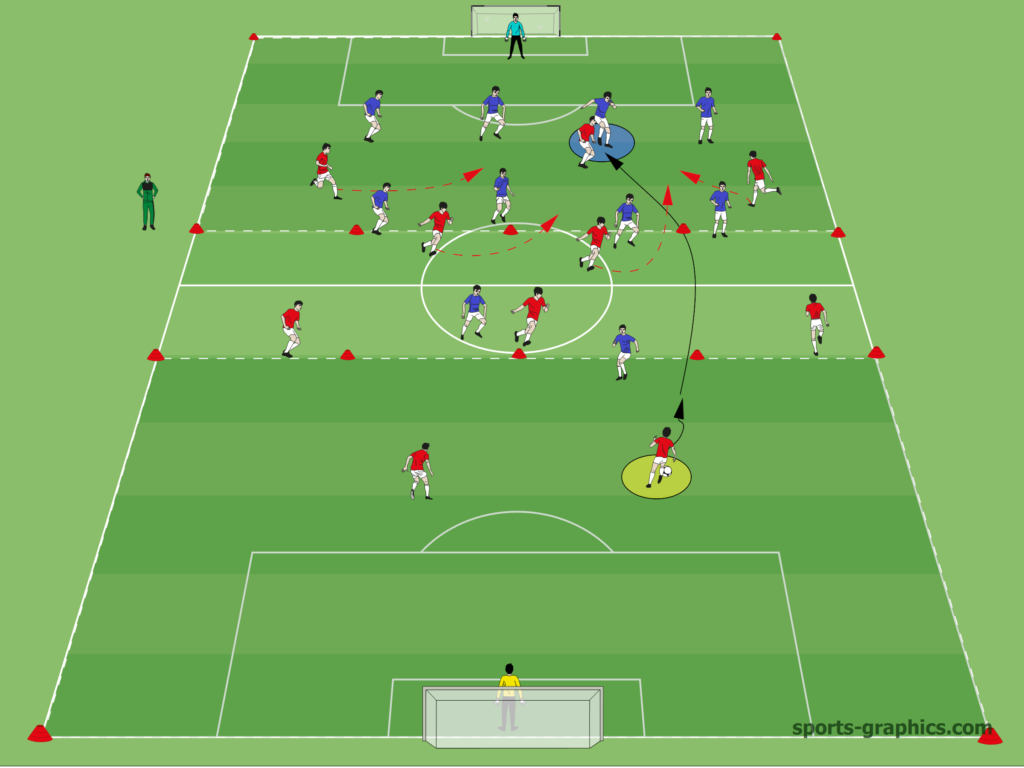
Play effectively on the second ball Procedure: In the 11 versus 11 setup, a No-Go zone is marked as the middle zone. Low passes through this zone are not allowed. Otherwise, all rules of regular 11 versus 11 apply. Coaching points: The rules provoke high balls into the forward areas. This enables early orientation towards …

Large Sided Game: 11 vs. 11 – Reachability, Creating Pressure Read More »

Small Sided Game: 3 vs. 3 +1 +2 – Create Pressure, Prevent Counterattacks

Get the ball back away from the ball Procedure: In the field, three against three are played, with a neutral player inside the field and two passing stations on the sidelines. After a ball loss, the neutral player inside the field temporarily takes on a defensive role. After gaining possession of the ball, the aim …

Small Sided Game: 3 vs. 3 +1 +2 – Create Pressure, Prevent Counterattacks Read More »

Drills: Passing in Groups – prevent counter attacks

That’s how your players learn to save the goal after losing the ball Procedure: In a marked field, three or more teams play with their respective balls. Each team also has two marked goals. Upon the trainer’s call, one team is activated. This team actively attacks their own goals (Variation: The goals of the opposing …

Drills: Passing in Groups – prevent counter attacks Read More »